

My objective was to sell the old truck and get a decent handful of change for it. It’s would not be easy when every one of it’s ten years of life in the sun shows so plainly. I’d already done the heavy lifting, by fixing the paint. That was a bunch of work and probably $300 in supplies.

Before
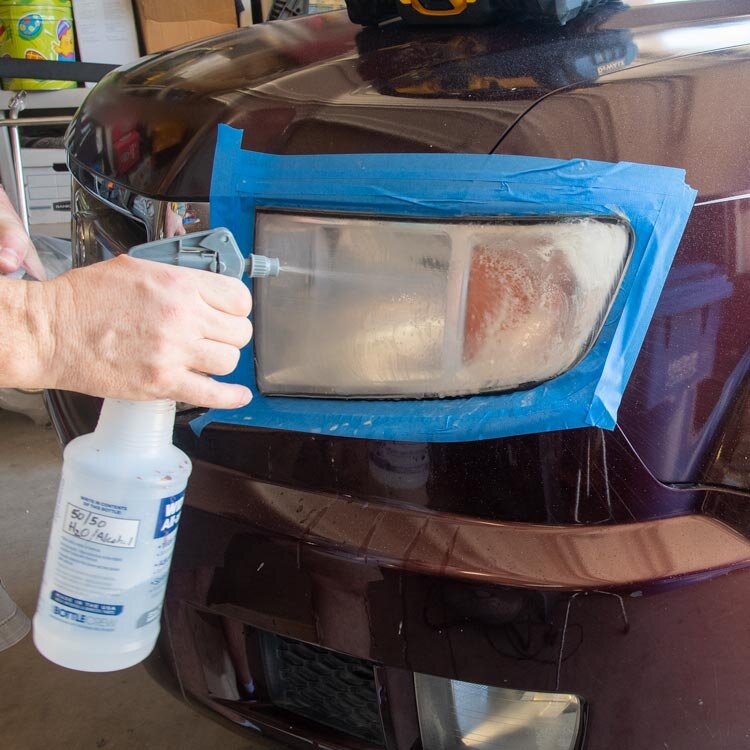
In the past, I’ve found biggest bang for the buck in rehabbing an old car for sale is a headlight restoration. Sunburned plastic lenses show that age so horribly. They also don’t help driving in the dark much either, becoming more like warm glow-boxes, than headlights.

I like my beverages frosty, not my headlights.
Luckily, there are lots of handy little kits to DIY to a factory fresh finish. I'd done it before when I inherited my Dad’s short lived Miata and it turned out great.
I’m not going to go deep into the step-by-step this time, the instructions are clear enough. Last time, I used a 3M kit. This time, I’m using the Mothers 07251 NuLens Headlight Renewal Kit. They’re really similar. In fact, I combined pieces of them both to Frankenstein the best of both.
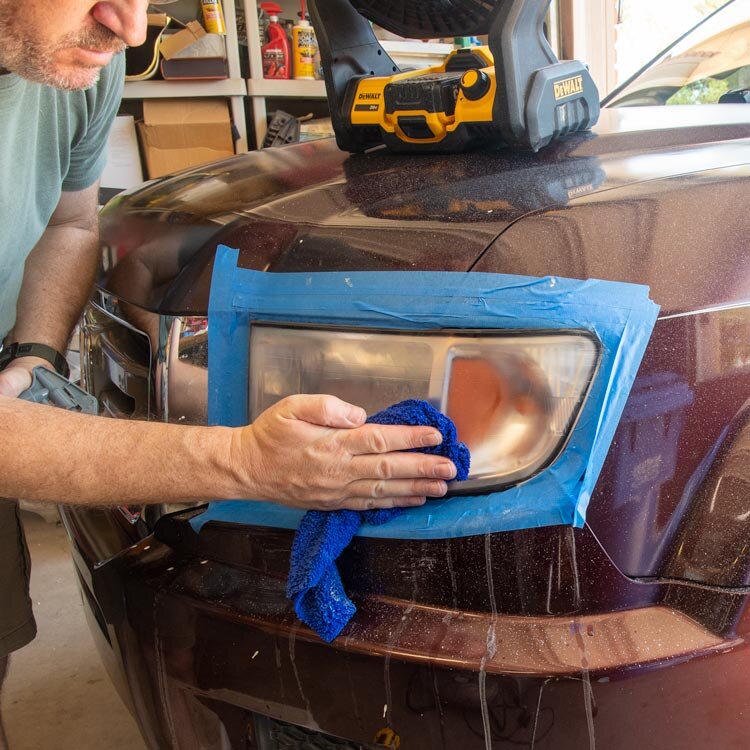
These kits start by wetting down the plastic headlights and grinding them with a series of ever finer abrasives chucked into a drill. A slip-up could cause paint damage, so masking tape on the surroundings is a must.

Pinkies out, if you’re fancy.
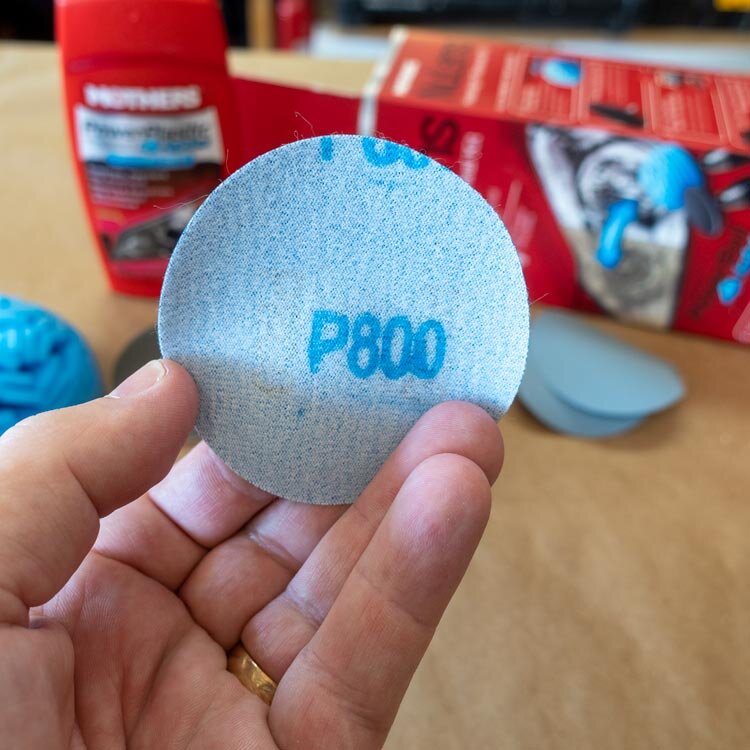
The kit comes with Velcro backed sanding disks and a drill backing plate.
You can’t help but cringe when you fire up your drill and start merrily grinding away at the front of you your vehicle. It feels like a point-of-no-return kind of action.
No worries, it all comes out in the end.

Drill baby drill.
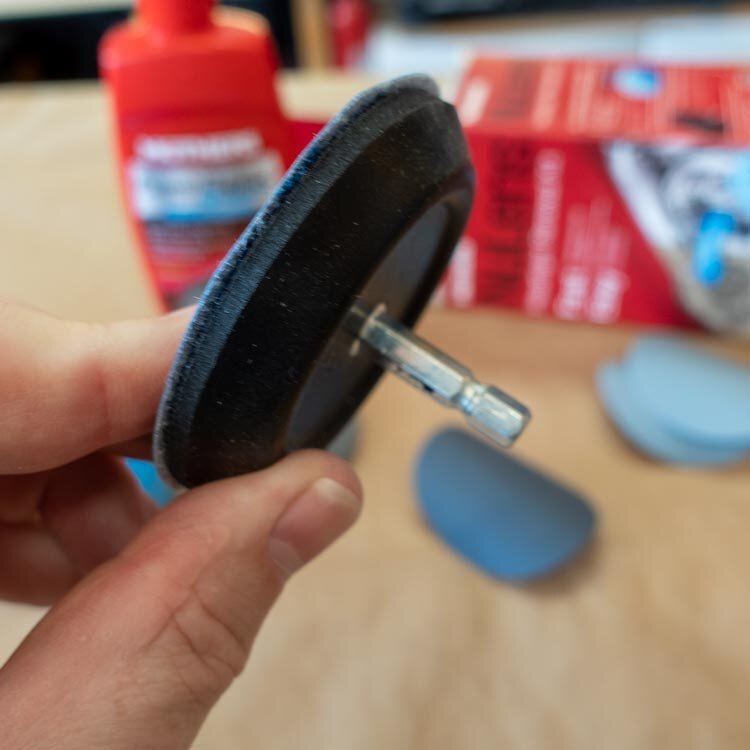
If the lens wasn’t completely fogged over before that first step, it certainly was after. I really didn’t like how the Mother’s sanding disk skipped around as I tried to hold the drill steady. It was thinner and more rigid.
Luckily I still had the old 3M kit, with a much thicker backing sponge.

Thick vs thin
I popped the finer, 1500 grit sand paper on that older, spongier backing disk and went at it again.

Ohhhhhh yeahhhhhh…. much better.
It gave a nice even grind. It was totally fogged over, but smoother without pitting.

The fog of illusion, the fog of confusion is hanging all over the world.
- Van Morrison
The next grit was a lot finer. This was a foam backed, 3000 grit sanding sponge. It very nearly renewed the headlight to clear.


The Mother’s full-size bottle polishing compound and buffing sponge ball beat the 3M kit though. The 3M kit came with those ketchup packets of polish. They’d been emptied on the first project a couple years ago.

No dinky ketchup packet of polish here.
The polishing ball did the trick. The headlight looked brand spankin’ new!

Just some over spatter to clean up.
I did a quick repeat on the low driving light in the bumper. Cake!


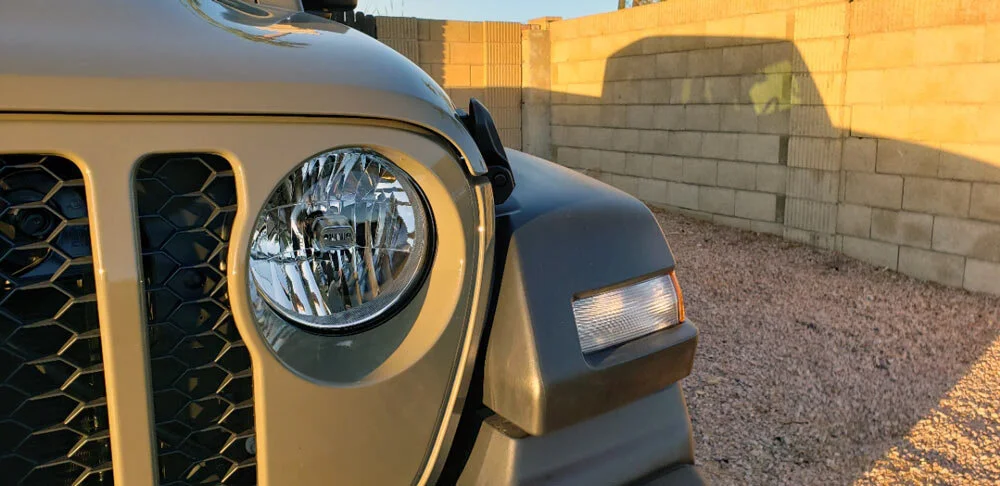
With one side done, look at the incredible difference after I wiped off all the splatter. Years dropped off my old rig.

Ol’ lazy eye.
It just takes a few minutes and looks absolutely dynamite!

Whadda ya think? Seriously this process is so stinking easy, that I shot a quick video to show how I did the other headlight. start to finish, uncut in real time.
I didn’t start out planning to do a video. Not too polished, of a piece of cinematography but it was fun.
Should engage in more YouTubery?
Epilogue: No more MR. Ridgeline
This was pretty much the last step. I decided to trade in the old rig while it still had some semblance of value. The paint work, deep cleaning, and the headlights moved the value rating up from “poor” to “good”. I got a trade-in value right in the middle of the “good” category. I was happy to get it for a 10 year old, 120,000 mile truck that had never spent a single day in a garage.

Happy Trails Old Friend
My new truck has some crystal clear headlights. It will be a while before they need to be touched up. Get used to seeing a Gator Green colored truck loaded up with lumber instead of Dark Cherry Pearl one.
Wide eyed and full of wonder for the adventures to come