The kitchen remodel is well past the point of no return. Instead of doing a total gut-job and starting with a clean canvas, I've been breaking the rules and doing it in phases, starting with the south wall. We've got to live our everyday lives using this kitchen while I chip away at the project on weekends. I've already torn out the the cabinets and built a temporary pantry / storage / microwave station.
The Soffits
Our kitchen features a soffit, the drywall bump-out filling the space above the upper cabinets. I'm not entirely against the general concept, but it makes our small kitchen look more cave-like.
Oh, and the wall paper...
...ohhhhh, good lord, the wallpaper. Hideousness personified.
Why yes, it does include printed crown moulding. Bonus!
Another reason the soffit needs destruction is to accommodate taller, 40" upper cabinets, all the way to the ceiling. We're losing a bunch of our cabinet storage in the new design as we convert to a galley style kitchen. We'll need to gain back as much as we can get, even if it means my sweet, 5' 2" tall wife will need to call on me or get a chair to reach the stuff stored at the high altitudes of the taller upper cabinets.
I'll be sharing the final design very soon, but for now....these soffits gotta go.
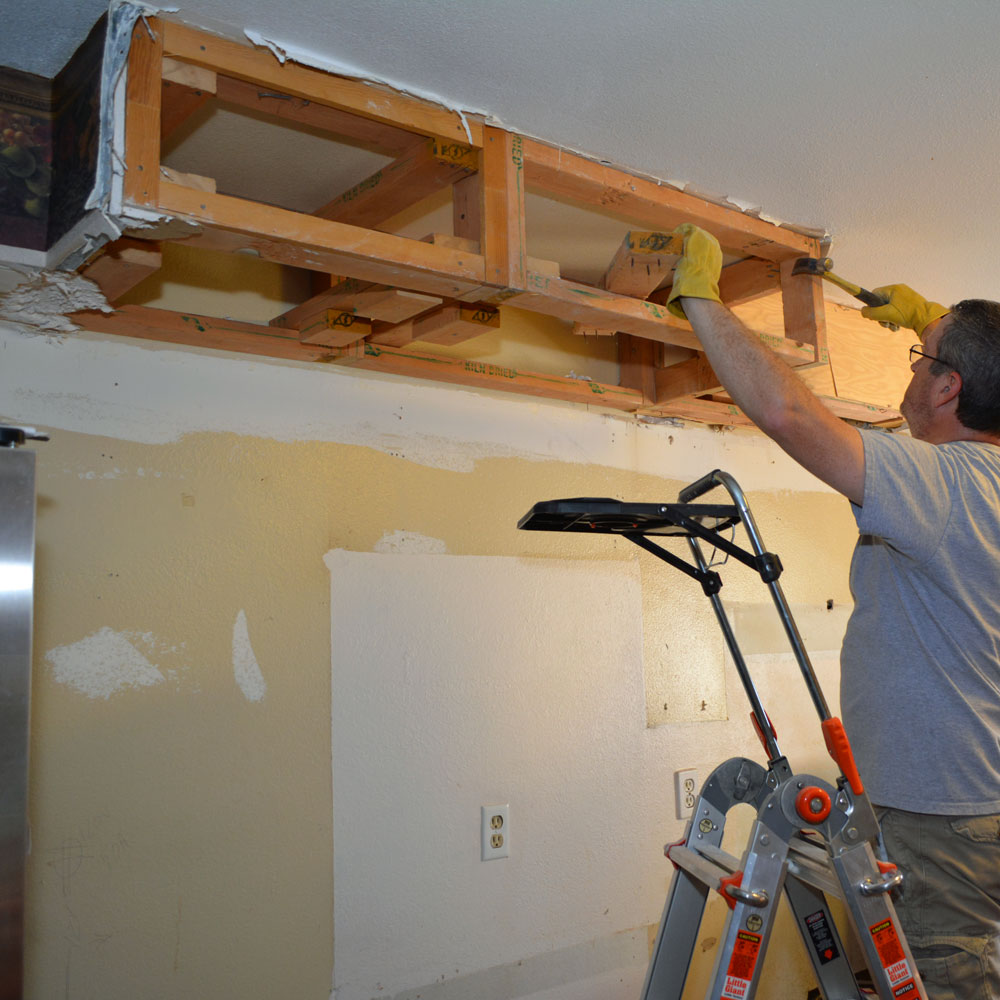
I really tried to keep the dust and debris to a minimum, chipping off pieces of drywall and filling buckets to lug out to the trash can. The more bigger pieces I could pop off in once piece, the better.
I got a facefull on this brilliant manuver.
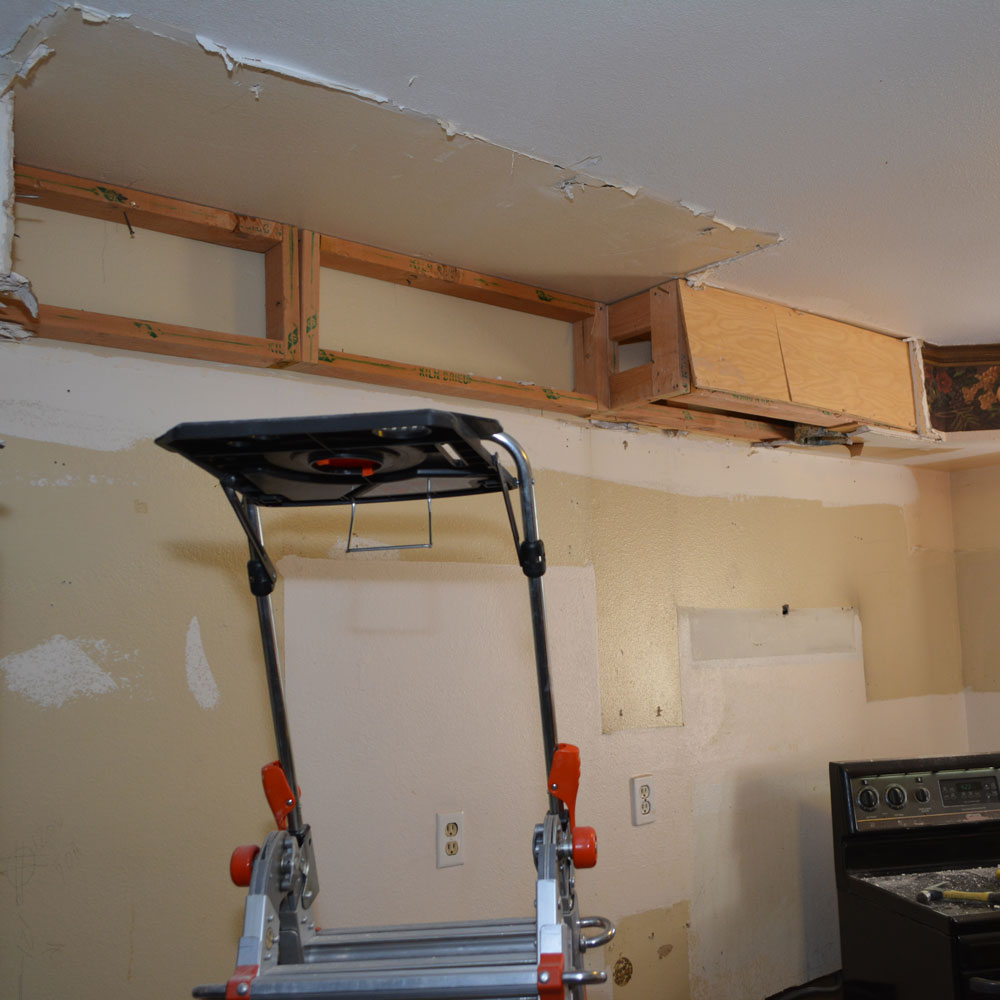
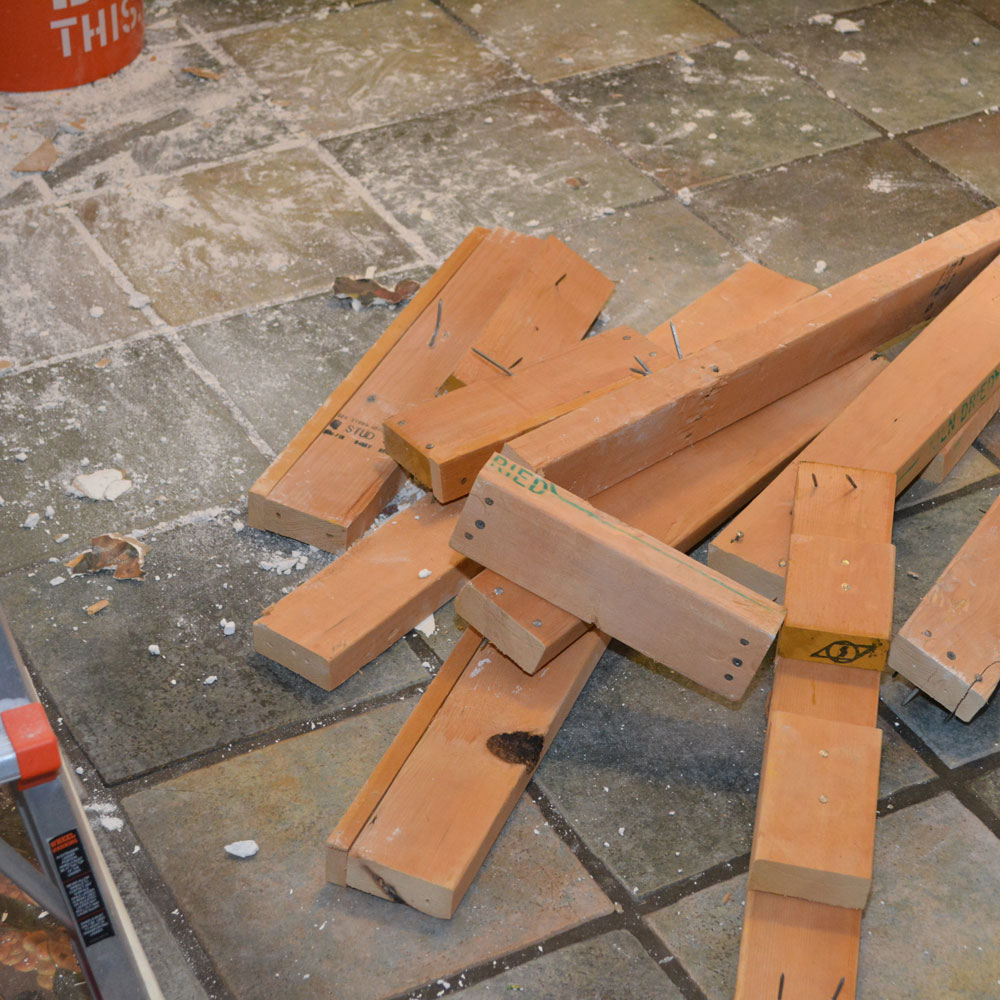
Oddly, it became apparent that the boxed framing wasn't built in place. Rather than use long, straight runs of 2x4's to build the frame, our predecessors had lifted pre-assembled sections into place. I couldn't get them down in the same fashion, so I smacked, pried, wiggled, and tugged pieces of 2x4 off, one-by-one.
It's surprising the soffits weren't filled with cracks due to the sections moving over the years. They were decently connected to each other, but only a few areas were attached well to the house structure. A bunch of the nails and screws were just sticking into drywall offering zero holding power. In the areas the installer had found a framing member to attach to, they nailed the hell out of it. There'd be three or so nails in one place, in all angles.
I had a chance to take my awesome FUBAR - Functional Utility Bar back to work. This tool is the best for demolition. (Check out my review from the archive)
The FUBAR, back in action!
I wasn't sure what to expect when I got to the end of the south run, but I knew that the western section wasn't entirely sealed at ceiling level. I'd shown this video before ( Soffit Investigation: Good News, Bad News. ), but you can see what sticking an arm up through itchy, mystery insulation revealed.
I pounded a hole in the end and stuck the vac up there to slurp the insulation out before I started cutting the thing out. I also clamped a temporary brace to the left. This soffit was built by real framers, using long 2x4's attached to the home structure. I didn't want anything falling down.
Of course the insulation removing strategy packed the vac chock-full, almost instantly.
How do you know when it's time to buy a new filter?
Once again, I had to get over my disappointment at failing to uncover a cache of hidden confederate gold in the void. One of these days, I'll strike it rich.
I did, however, discover some mystery wiring. It's always a joy to come across electrical tomfoolery in this old house. It doesn't happen often, but often enough to concern me.
The fact that it lit up my Fluke "hot stick," added a bit more concern.
Time to go check the batteries in the smoke detectors. Who knows what horrors lay buried in these walls?
I can't even figure out where these two cables go. There's no outlets above or below in line with the wall cavity. I even checked outside. I'm going to have to carve out another piece of drywall to investigate.
Lovely.
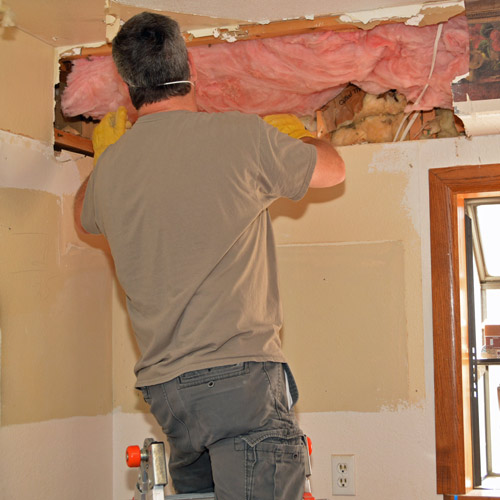
With insulation and electrical out of the way, I lopped through the framing and drywall with a reciprocating saw and a demolition blade. The blade cut through nails, wood, metal drywall edge banding, and anything else that got in its way.
This is the first time I've put my new DeWalt 20 volt to the test. Loving it so far.
The insulation and drywall soffit were the only barrier between the great outdoors and our kitchen. I could see light streaming in through the back side of the gable vent I'd converted to a hatch above. That access hatch is going to make running the electrical up there a lot easier. It's right above the south wall.
As I wrapped up for the weekend, I'd have to temporarily plug that hole to keep the cold of night and the heat of day out. I'd use something easy to remove, so I could get back in there.
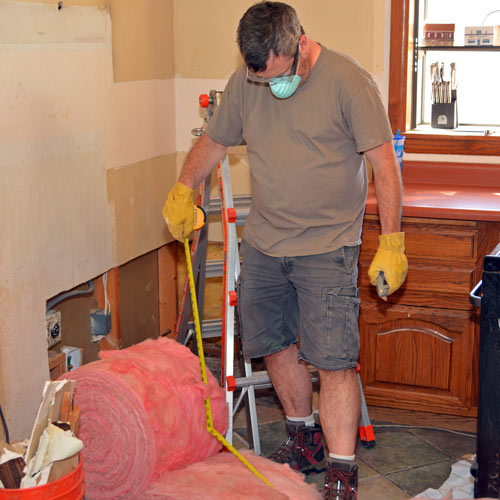
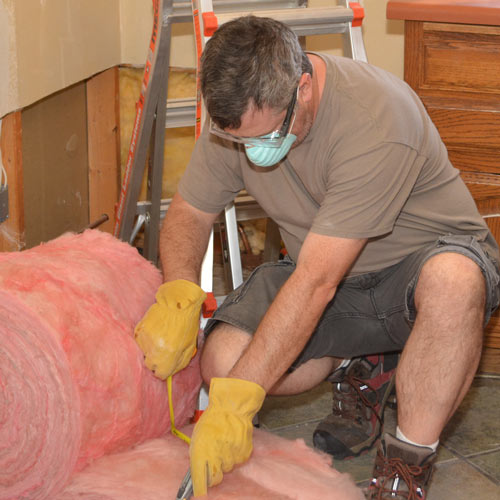
I picked up a roll of insulation to jam in the void for a while. That'll do the trick for now. I think I'll have to take out a few more feet of the soffit before I proceed to cabinetry, but I think I'm going to start working on the electrical next. I've got to figure out what those mystery wires are.
There's a fair amount of ceiling patch work to be done as well.
Those cabinets were surely not original. It's strange, the house was built in 1979. Due to the age and style of the cabinets, I really think this remodel might have been done sometime in the 1980's.
That's it for workdays three and four on this project. Visit the earlier posts and start from the beginning on my Kitchen Remodel page:
I'd love to hear what you think about this mess in progress in the comments below. See you next time friends.


