I'm well underway with replacing all the interior doors in our home. We started with flat slab, hollow-core doors that were probably original to the 1979 home. These originals are very plain, beat up, and so thickly coated with poor paintsmanship that there's no saving them. We've started replacing them one-by-one.
Some before and after action!
I've been picking up a hollow core, six panel doors from Home Depot by Jeld Wen. I believe Lowes sells the same brand, but I have my reasons to go to HD.

Concern?:
This sticker did not slow down the planer at all! It got chewed to bits.
I'm using the hollow core doors, because:
The originals were just fine, still structurally stable after 30+ years. It's a family home, not a great wall, fortified to withstand an onslaught of marauding Mongol hordes.
They cost $30.00 each. This is a serious improvement for a great price. I'm spending more on hardware than on the door.
Seriously, they're $30! (Compare to this investment, for more than $30)
I can man-handle these myself. They're light enough to prepare and hang solo, without having to lure a neighbor over with a craft-brew to get help wrestling a solid-oak, back-breaking beast onto the hinges.
They come off-white primed on six sides and have an embossed wood grain pattern. Painted a nice glossy white, even by hand, (...even with a 5 year olds assistance) they really finish up nice.

Of course, I had to plane mine down to size. I got a look at the construction, beneath the primer. The sides are a finger jointed, natural wood. It looks like pine. It's clean and free of knots and imperfections. The top and bottom are particle board. I'd prefer better, but it seems to work. Our old doors were the same. I just make sure I seal them up with primer and a couple coats of paint.

Clamping a sacrificial edge to prevent snipe and blow-out with the planer.
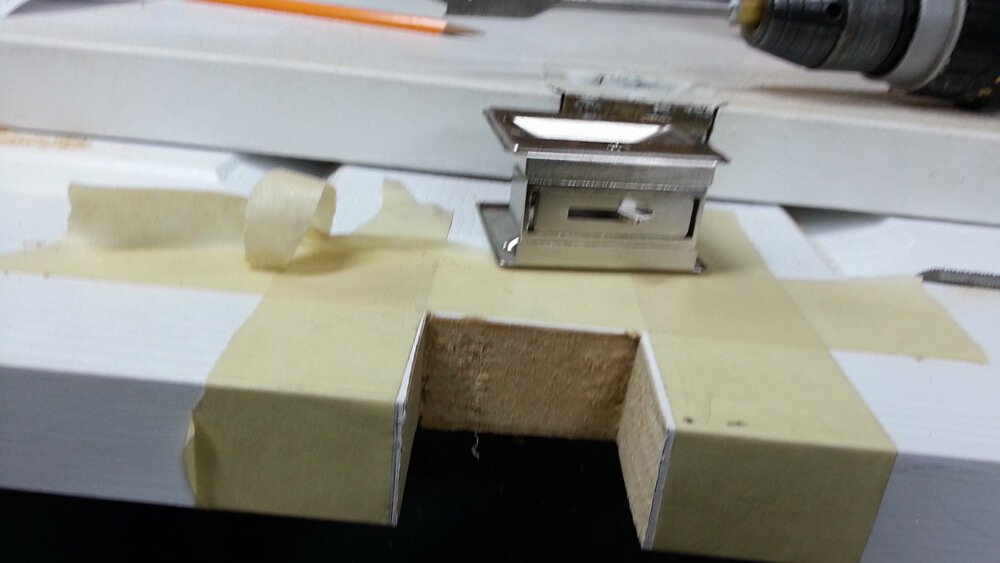
Because the standard sizes were too big for my framing, I bought them as slabs, no hinge mortises or holes for latches and knobs. They did have pre-bored in stock for a few bucks more, for those with houses not built by guys with short tape measures. I cut into mine for two different latch applications, there was plenty of meat left.
Surgery, to install a pocket door latch
The instructions limit how much you can plane down, 1/8" max per side. That was just fine for my application. I did it with a handheld power planer (Bosch).
Overall the quality was really good (see #'s 2&3 above!!!). So far, I only had one with a front that was coming off. It may have caught and popped up when they loaded it onto the shelf at the store. I glued and clamped it overnight before planing it down to size. Fixed!

I'm happy with this good-looking, easy-to-install Jeld Wen product. I have no problem recommending it to mid-skilled DIY'ers, with the proper tools, providing they don't require interior doors capable of stopping bullets.
If you'd like to follow my bumbling, door replacement adventures from the start:
Planning and decisions - Looking at doors, tools, and hardware (while sick as a dog)
Prepping a replacement pocket door - The inaugural first door
Installing a replacement pocket door - Saved the hardest for first
Prepping a replacement hinged door - Improving prep and shopping for hardware.
Installing a replacement hinged door - Here's my first hinged door install, including the first attempt at hinge mortising.
Review: Ryobi Door Hinge Template - Now I have it figured out!
Father & son DIY skills training - including the pitfalls of door shopping with your guard down.
I’m keeping this old, small version of the top pic on my site for a while. There is a carpentry business that stole my image and is passing it off as their own on their corporate website. Weird, right? - John


