This is a sponsored conversation written by me on behalf of Cricut. The opinions and text are all mine.
I've always wanted a Jeep. It's just not been practical for my needs, but a guy can dream.
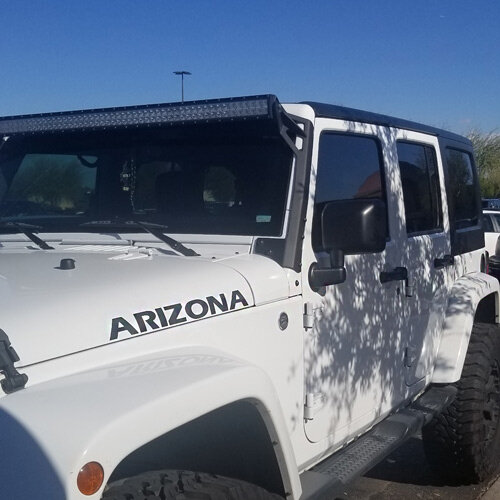
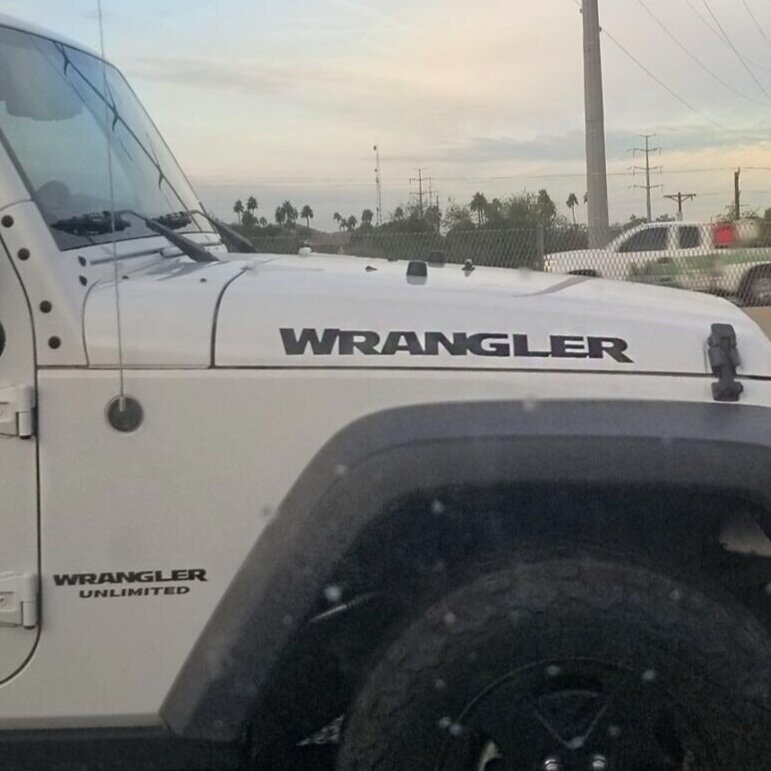
My buddy Tony from work (day job) has a somewhat beat up, 1991 Jeep Wrangler that he’s just started to fix up. One of the first things he wanted was some lettering graphics on the side of the hood. Since, I started paying closer attention, I notice these things everywhere, and they have all kinds of lettering.
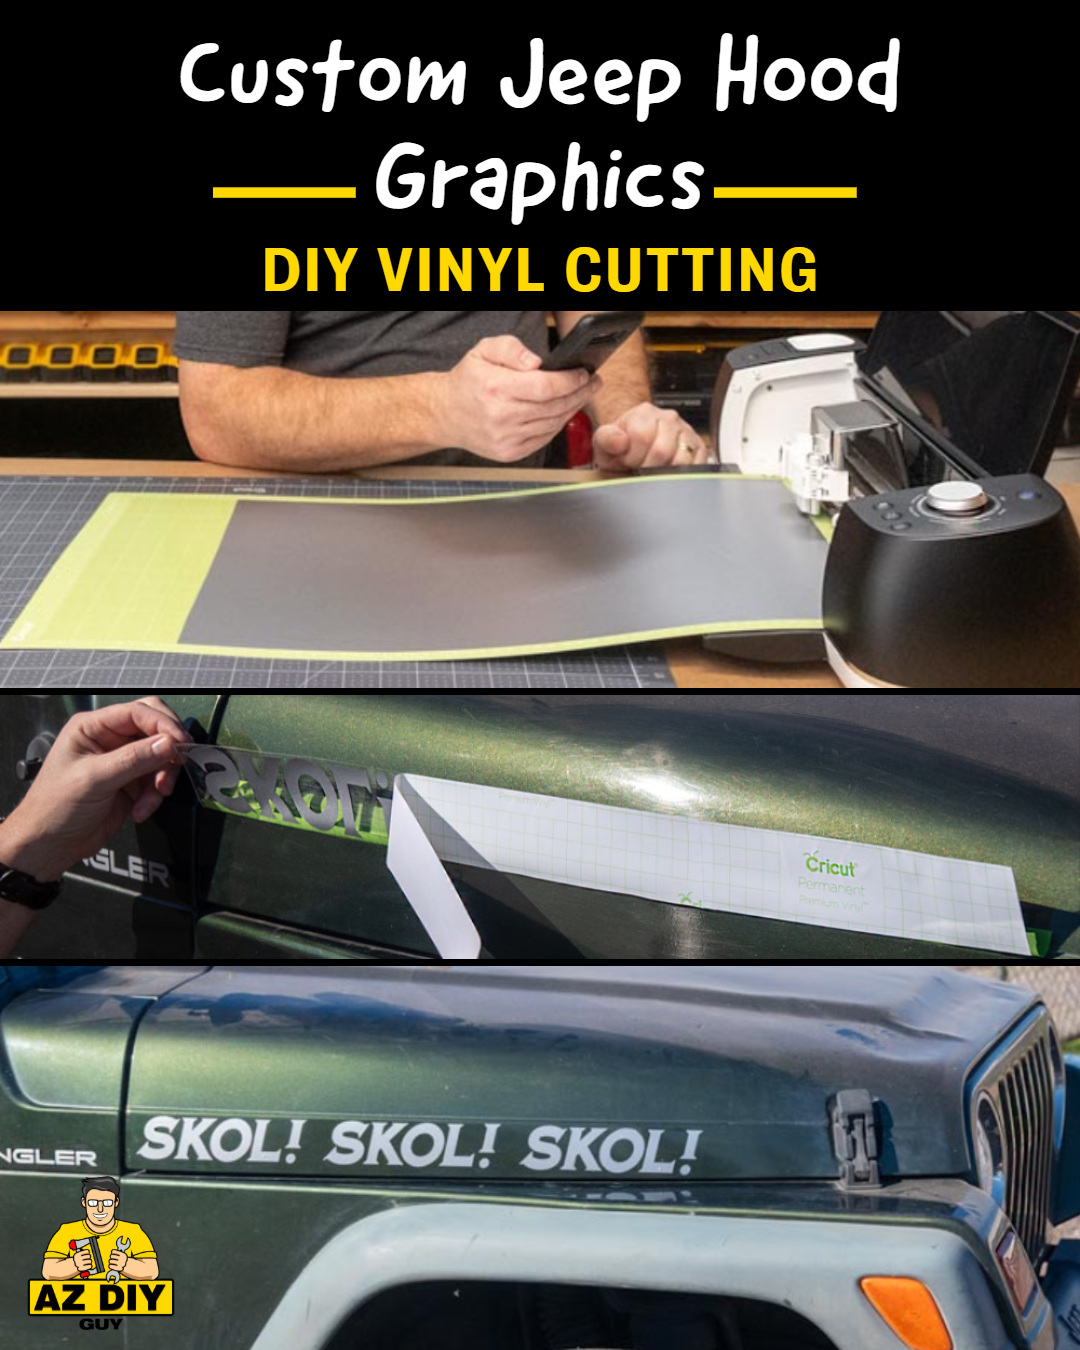
When he saw one of my previous vinyl cutting projects, he knew I had just the gadget to make custom graphics for his ride. I'd use my Cricut Explore Air 2 to make sheet vinyl into whatever he wanted.
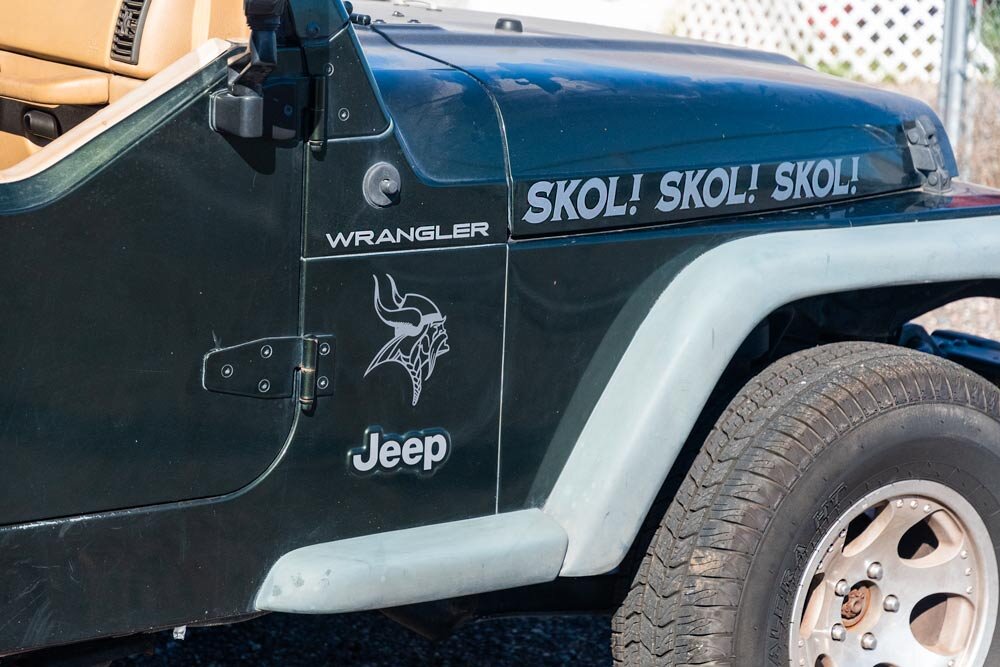
He chose to add his own unique twist and pay homage to his favorite professional football team and the fan’s chant “Skol! Skol! Skol!”*. It would be unique all right.
Creating Jeep Lettering with a Cricut
I loaded up Cricut Design Space and started scrolling through the bazillion included fonts, looking for something reminiscent of a fierce Nordic warrior.
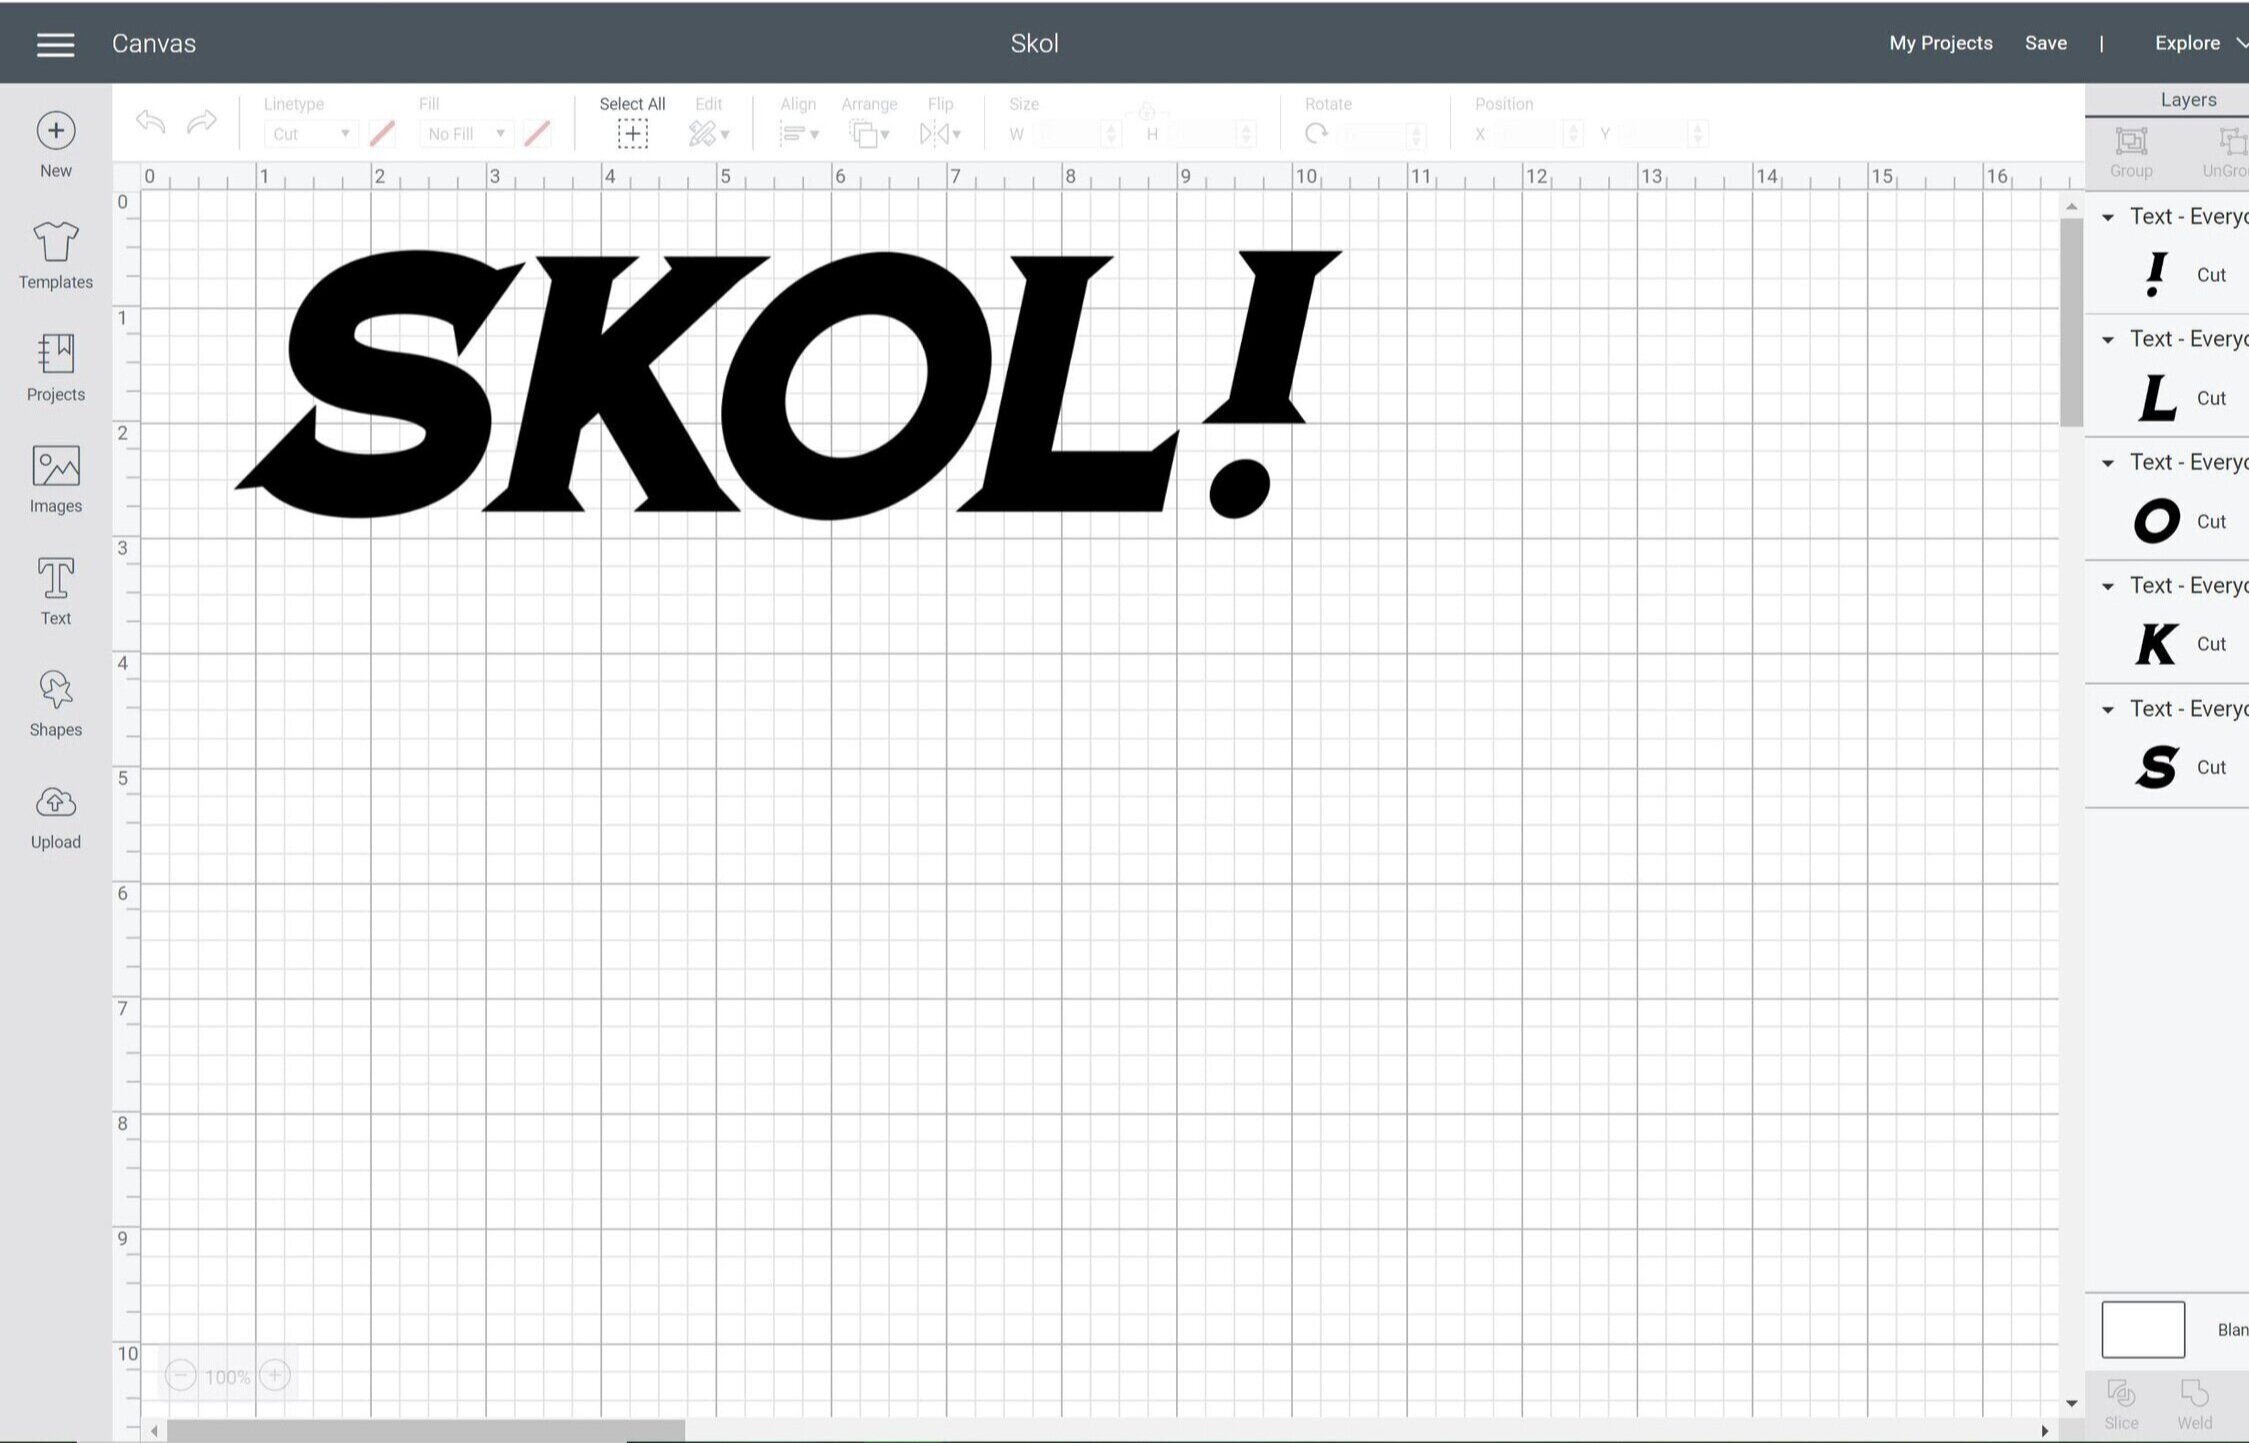
I finally chose Everyday Fonts - Warm Wishes from the Cricut collection, with all its cool, pointy little serifs spiking off the letters. Adding an italic slant helped spice it up a bit too.
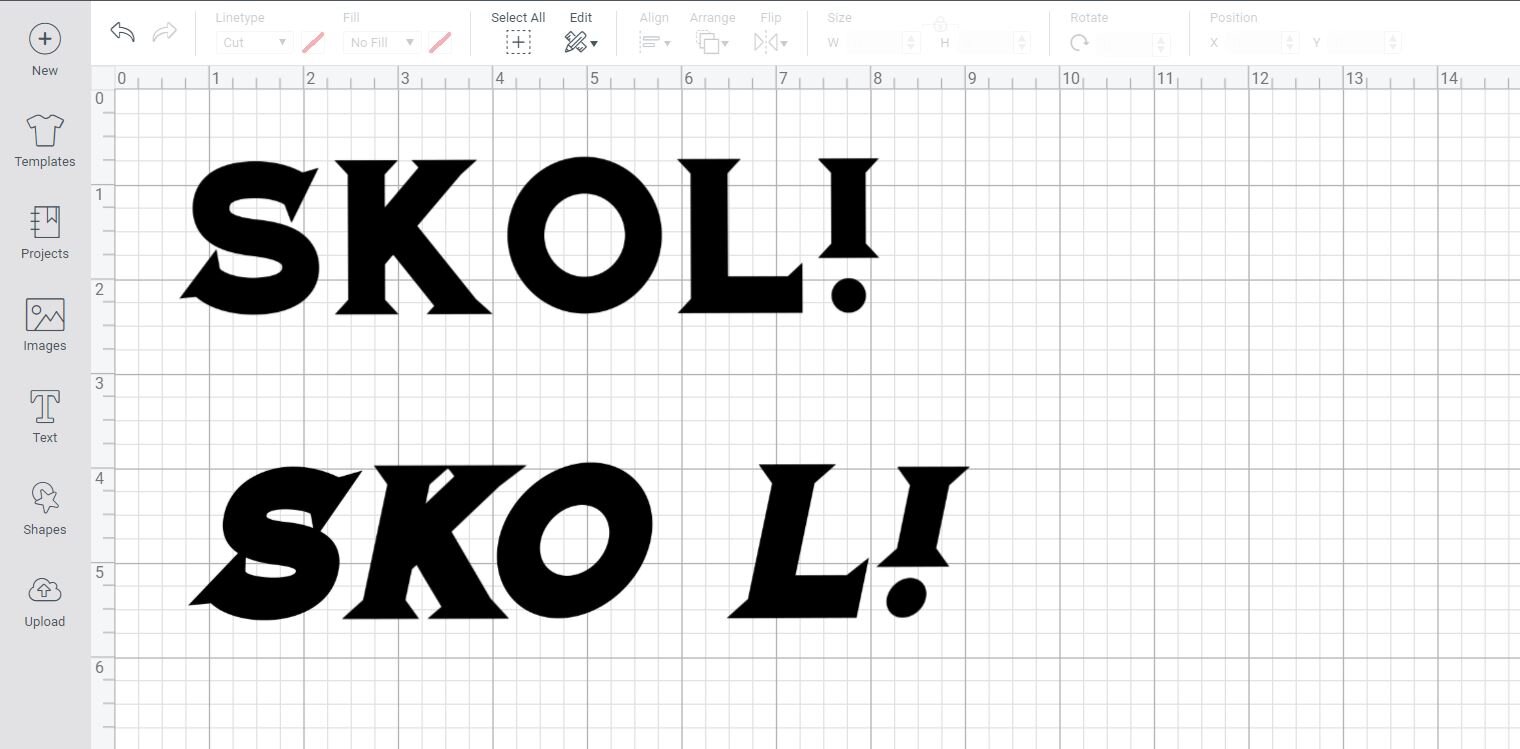
I didn't like how the letter spacing looked at first, but The Design Space Software let me break the word into individual letter forms and tweak them tighter until I liked the look.<
I did some duplicating, grouping, and slicing, to layout the word spacing. I'd need to create two identical strings, one for each side of the vehicle. The maximum length I'd be able to cut in one run would be 24 inches; we'd need something longer than that. I created extra characters attached to a couple text lines so I'd be able to piece them together accurately later.
Cricut Design Space
If you are using Design Space, you can access my final file here: Skol! Skol! Skol!
Making a Test Template on Paper
The Cricut Explore Air 2 is more than just a cutting machine, it also can do writing and drawing. I didn't want to waste vinyl on on an incorrectly sized design, so I popped a special pen into the left clamp and had the machine zip out a drawing on paper.
It’s really cool how this works. Using a fine tip marker, it draws and writes precisely, yet there are very slight variations in the line weight as the tip moves. It’s incredibly accurate and neat, yet still looks hand drawn.
Once it was compete, I cut the out the words and taped them into a full-size mock-up. I brought it to work the next day and sent it home with Tony to check sizing on his jeep.
That night, he taped it in place. It looked good, but seemed a little too tall. This particular model year has a hard, horizontal edge line in the hood design. We felt the decals would get too close to the edges of that space. Reducing the height would reduce the overall length and size off the letters, but we figured a 1/4” shorter would be perfect.
Just a pinch too tall.
Intermission: So what the heck is “Skol! Skol! Skol!”?
Per our friends at Wikipedia: “Skol (written "skål" in Danish, Norwegian, and Swedish and "skál" in Faroese and Icelandic or "skaal" in transliteration of any of those languages) is the Danish-Norwegian-Swedish word for "cheers", or "good health", a salute or a toast, as to an admired person or group.”
*Through my research, the term as we are using it is not copyrighted by the NFL’s Minnesota Vikings. “Cheers! Cheers Cheers!” The word does appear copyrighted in other phrases specific to the team.
Cutting Vinyl Lettering
I rolled out some Premium Vinyl™, Silver onto my new, larger 12" x 24" Machine Mat so I could get more than half of the design done in a single piece.
One of the best things about the Cricut Explore Air 2 is the wireless connection ability. Rather than taking my computer out to the workshop, I simply logged into the Design Space app on my phone and adjusted to the new letter height, 2.165 inches in this case.
Bluetooth from the phone
With the phone connected via Bluetooth and the cutting mat loaded, I set the cutting depth to vinyl.
After pressing the Cricut logo’d button to let the machine do it’s thing, I was done. I stood back and watched the mat zip back and forth while the cutter head zapped from side to side.
The blade slices quickly and cleanly through the vinyl, leaving the backing paper untouched. It’s incredible precision.
After the machine stopped cutting, I removed the mat and peeled it off. I sliced the lines into strips, both to get them down to manageable size and to save untouched vinyl for future projects.
The next step is tedious, but it’s fun. “Weeding” is the process of picking and peeling vinyl from the unused, negative areas of the design.
I’m amazed at how precise the cutting is. Whenever I’m peeling vinyl up, it never seems to stick to the sections that I don’t want to peel up. It’s clearly some kind of sorcery.
I overlaid two pieces to make a single, long strip including all three “SKOL!” words in one string of text. I sliced a clean line through both layers and taped the two pieces I wanted into the strip.
I carefully peeled a long strip of Cricut Transfer Tape as I eased it, sticky side down, onto the top of the vinyl design. I burnished it down with a scraper tool.
With that, the stickers were done! I had two long, narrow sheets, about 28 inches long.
Installing Custom Vehicle Graphics
After a string of rare rainy days, we finally got a clear one where he could bring his jeep to work. We’re spoiled here, most of the time this vehicle can driven around with most of the top removed.
Plain Green Jeep
It was a little dusty, so Tony gave it a quick wipe down. I followed with some alcohol and a micro-fiber cloth to get the surface clean.
We messed around with placement of the letters, deciding to keep it towards the back of the hood where the surface was the flattest. A strip of masking tape held it in place once we got it where it looked good.
Masking Tape on Cricut Decal
Using the masking tape as a hinge point we flipped the whole strip upwards and peeled the backing off. The Transfer Tape’s adhesive is stronger than the bond between the waxy paper backing and the vinyl stickers, so they stay perfectly in place.
“The Flip”
We slowly hinged the design back down, keeping it tight and rubbing it down from top to bottom as we went. The masking tape zipped off easily.
At a tight angle, I peeled the Transfer Tape off. I was careful each time I came up to one of those sharp little serifs on the letters, but they all stayed down. There were some bubbles behind the letters, but we rubbed them down too.
In the end, it looked great. I’d be willing to be this is a one-of-a-kind graphic. Not many fans of Viking’s salutes show their pride on a green jeep with silver lettering.
I’m looking forward to doing more vehicle graphics with my Cricut in the future. Maybe some cool window and bumper stuff. I’ll probably wait until I replace my beat up ol’ Ridgeline sometime next year, maybe with a Jeep of my own. If so, what does a DIY Guy put along the hood?


