Back when I was about halfway through the kitchen remodel, I shared how we wanted to install an exterior door at one end. It’s the end that had once been the U-bend of the counter-tops. There’s a little space out there, a courtyard. Yep, that’s what I’m going to call it; “side yard” is too pedestrian for fancy folks like us. Courtyard.
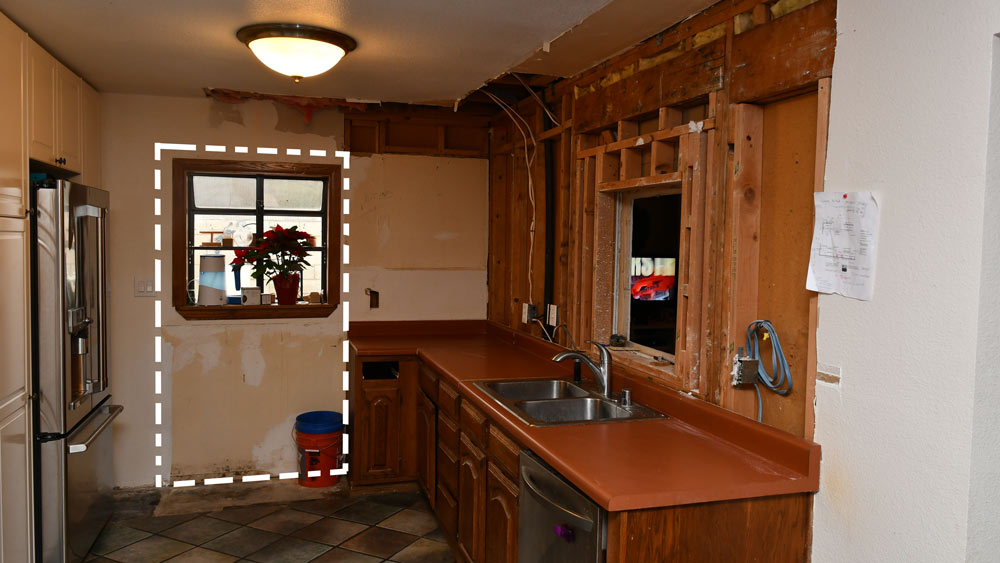
There’s a single-pane, greenhouse window there now. It’s the worst. It just collects bugs. It faces west where the blazing Arizona sun goes down in the summer. It chews up and spits out any hope of energy efficiency.
My vision of a doorway, a year ago.
We’d like to have a quiet, little patio just outside. For most of the year, the weather is perfect for enjoying a morning coffee out there, in the courtyard. I can almost taste, it now that the kitchen is fully functional.
Pre backsplash
At the height of the remodel, when I had the kitchen ceiling and walls opened up, I rerouted the power that had run through a conduit outside, along the wall. It had been right at shin height, blocking the door location.
The courtyard with electrical rerouted.
Anticipating doing this project four months ago, I did some preliminary work to remove a stump in that little space. I’d used Stump-Out to accelerate the wood in breaking down so I could remove it.
Me vs. the old stump, 4 Months ago.
Modern times…
I’m getting ready to work on that new door so I’ve been taking measurements to pick out what size to purchase. I went outside to see if I could tell where the studs were by the siding nails. That’s where today’s tale gets going.
Don’t judge me to harshly on my inattentiveness to yard work of late. While I’ve been occupied elsewhere on my home projects, I’ve completely neglected the back yard this winter,…this rainy, rainy winter.
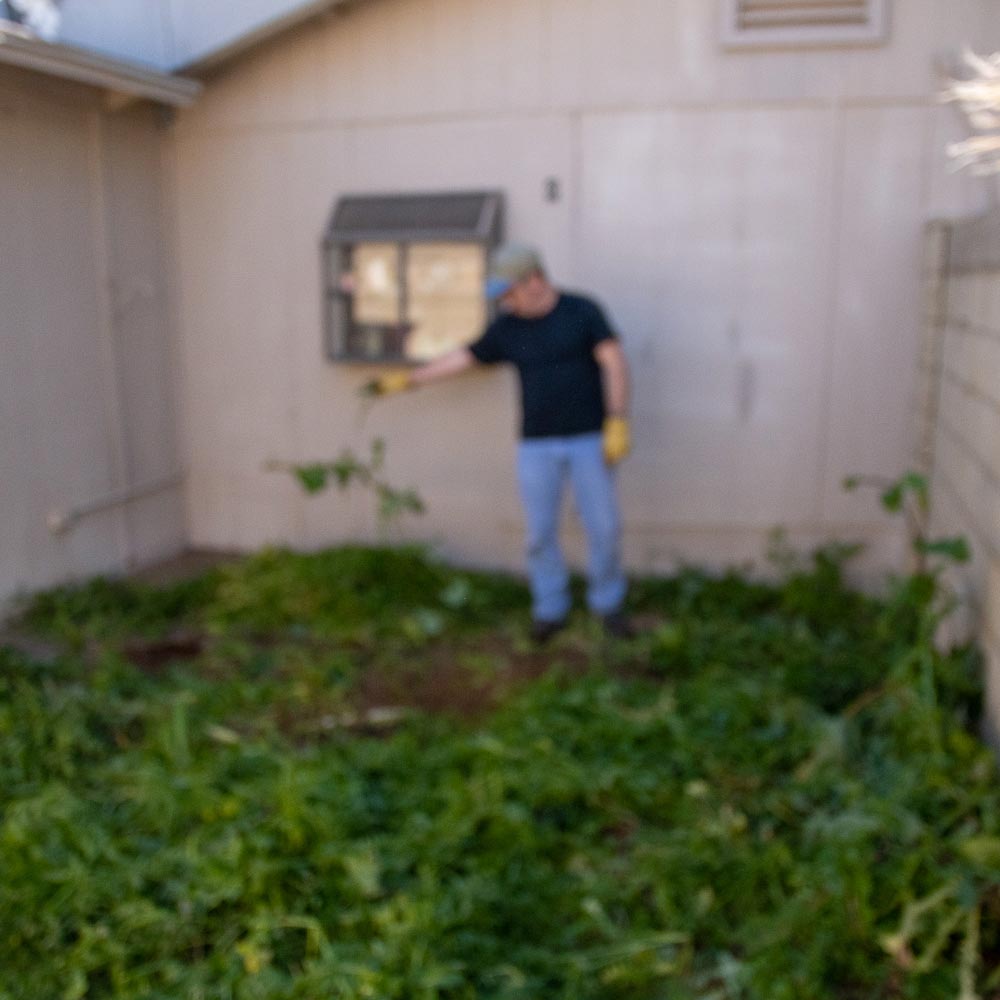
I went out the back door and around the side to find my path obscured by an absolute jungle of monster-sized weeds. Lovely.
I rounded the corner and found the weeds were well on their way to a full-blown rampage.
There’s a house in the middle of this meadow.
I could see the actual ground in one spot in the corner, the rest was obscured by greenery. There is no way I could work on the door project in this madness. I’d have to clean it up.
I figured the best way to clear it out was to dig right in. I popped out my pocketknife so I could reach down to each of the big weed stalks and cut them down. I know firsthand that this is a sharp little blade, since it’s the one that sent me to the urgent care. It would be good, old-fashioned, hand’s-and-knees work that would only take an hour or two.
Yeah. Sometimes I say silly things.
Pocket knife?
Seriously.
Ohhhhhhhh yeahhhhhhh….
Most dudes anywhere remotely around my age grew up with Indiana Jones. The dude had a revolver, a bad-ass bullwhip, and sometimes,… a glorious machete.
Indiana Jones and the Temple of Doom
Since I was facing a jungle, it makes sense to me that I should have a machete too. Indy and I are pretty much on the same level of bad-ass. After all, he’s been all over the world fighting Nazis and unearthing priceless antiquities; I’ve been to Disney,… gift shop.
"It's not the years, honey, it's the mileage." Aghh, the ride is closed.
Posted by AZ DIY Guy on Saturday, May 3, 2014
Time to go bushwhacking.
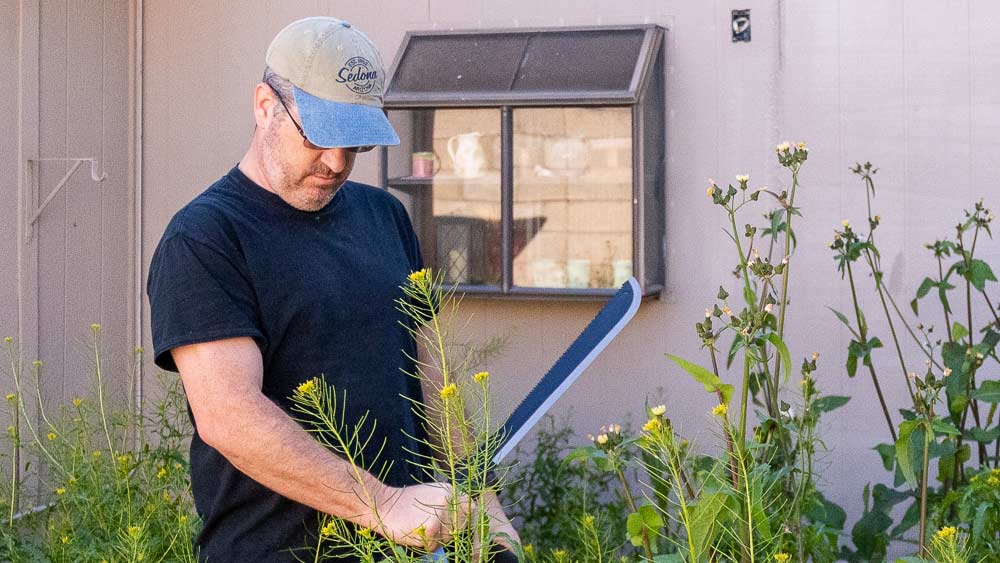
This is the Gerber Gator Machete. It’s a solid, sharp blade with an aggressive saw on the reverse edge. It includes a lanyard, with instructions how to wrap it around your hand for to keep fingers from becoming “no fingers” in the event of a nasty slip. Noted. It probably keeps you from flinging the whole thing when making an exceptionally heroic slash.
I shot this lovely photo for you fine people to see what the machete looks like before I spoiled it with fresh plant guts. It’s a rather nice photo. Take a moment to enjoy it, because it because it all goes to crap from here.
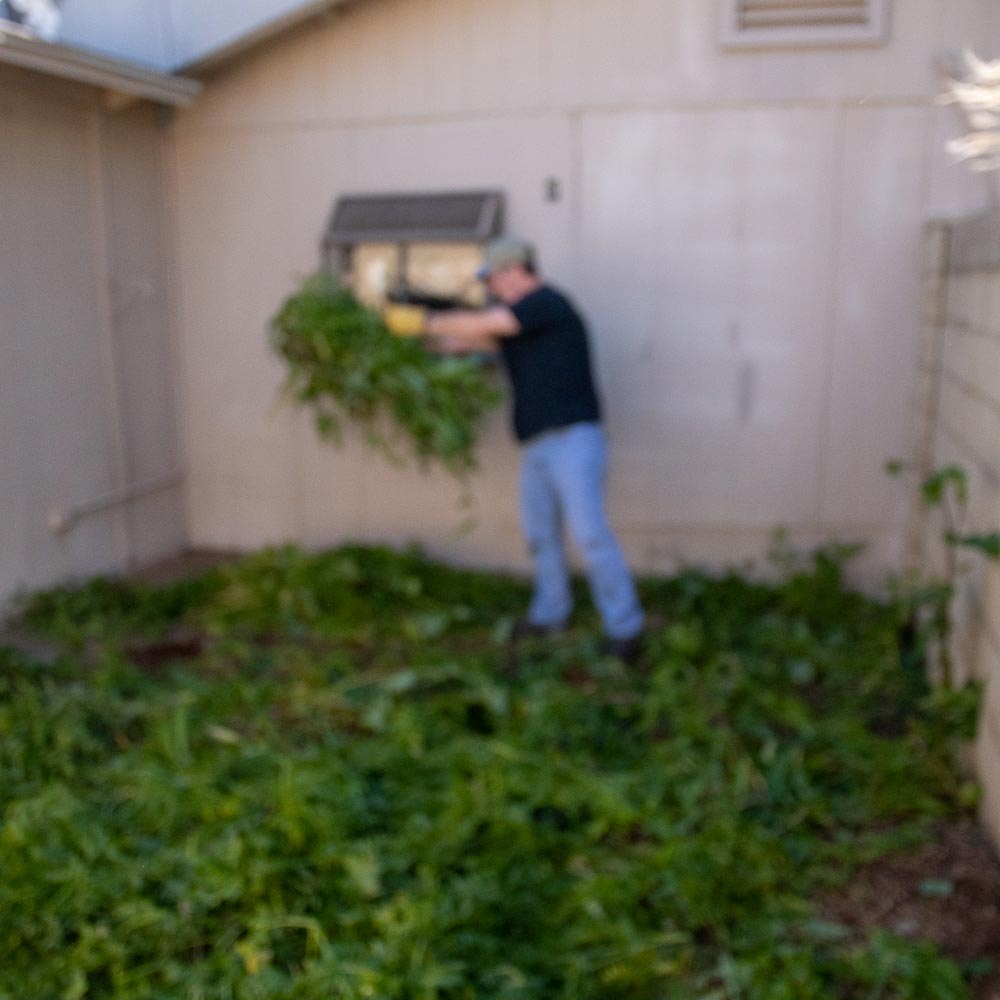
That’s right. The most important part of a DIY blog is the juicy middle, the part where you actually do stuff. Buy ‘em a drink, and any one of my blogging peers will probably share that the secret to a good, image-driven blog post: actually take good images. Your’s truly ignored that bit and cheerfully neglected to re-set the focus on the camera after taking that nice pic above.
Yep, five feet behind me, my camera sat blissfully on its tripod and merrily snapped blurry photos of the whole event. I fought those oversize weeds like an action hero and don’t have a single, decent image to show for it.
Idiot.
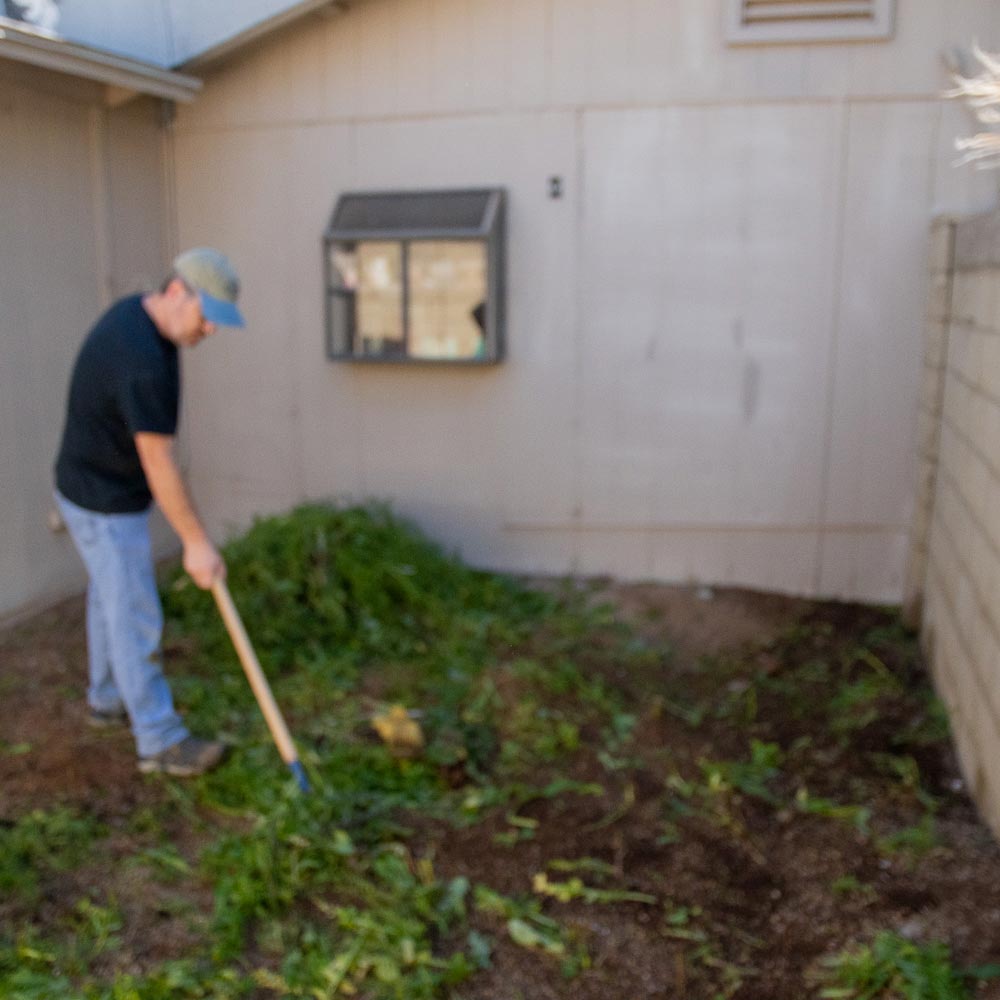
Without decent photography to show for it, I’d laid the jungle down in less than 10 minutes.
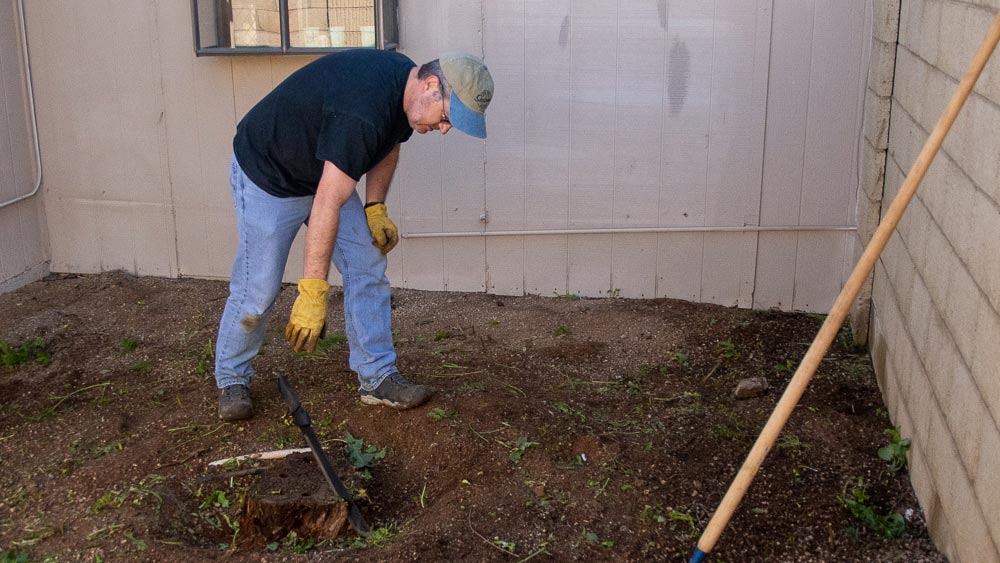
It was a bundle of fun, slashing those weeds. Of course, to wrap it up I thwacked the machete into the stump. Because,..MACHETE, right?
The blade sunk in pretty well, but the stump still felt pretty solid. Maybe it was because it was wet from an overnight drizzle. I’m not sure that Stump-Out is doing the trick quite yet.
Indiana Jones has nothing on me.
That’s how it’s supposed to be
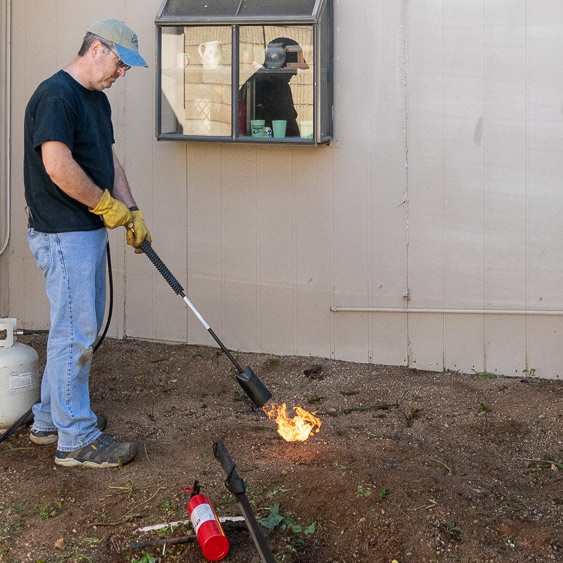
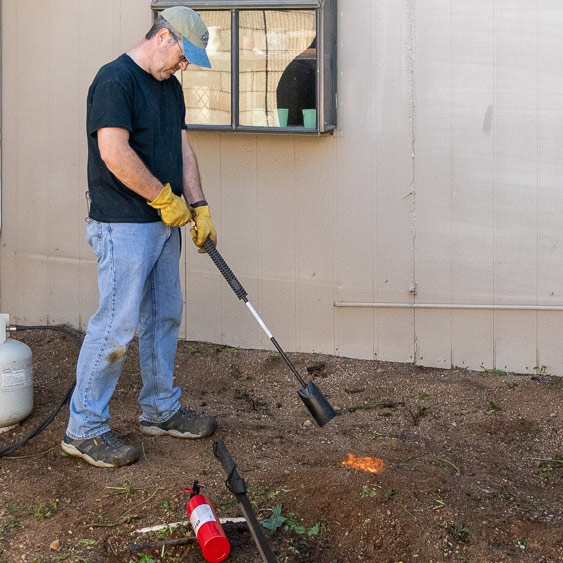
I decided to clean the area up a bit more, and hopefully kill any seeds or sprouts in the soil. It’s been a while since I brought out the big fire-beast, but what better time to use a flame-thrower than after a good dose of bushwhacking
Great ideas start with a spark
This propane monster does the trick. Nothing is coming back from its fiery onslaught. I cooked what was left and called the deed done.
After the last, big post I enjoyed doing a quick, fun one. I’m going to tackle the door install next.


